How to digitise scrolls
A step by step guide
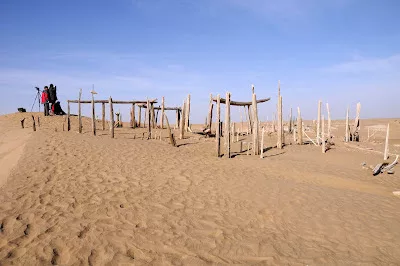
The International Dunhuang Project (IDP) is an international collaborative project based at the British Library and with centres around the world. The Project aims to preserve and digitise collections from archaeological sites along the Eastern part of the ancient trade routes known as the Silk Roads, including the Mogao caves near Dunhuang (present day Gansu province in China).
As part of this, the Lotus Sutra Manuscript Digitisation Project at the British Library is cataloguing, conserving, and digitising Chinese copies of the Lotus Sutra from the British Library’s Stein Collection.
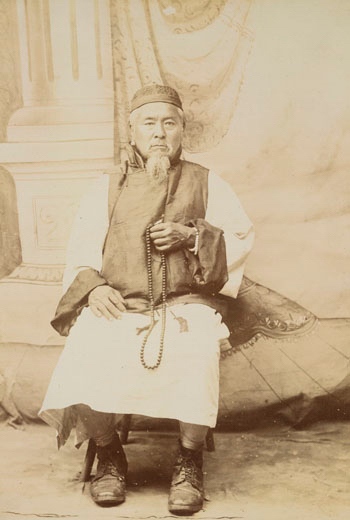
These scrolls were procured by the British-Hungarian archaeologist Sir Marc Aurel Stein (1862-1943), when he travelled to Dunhuang. He was followed by several other foreign explorers who also took away a large number of manuscripts and other items. By digitising this corpus of texts, we can facilitate access to these historic items and bring them together digitally, after they were scattered around the globe.
The Lotus Sutra collection
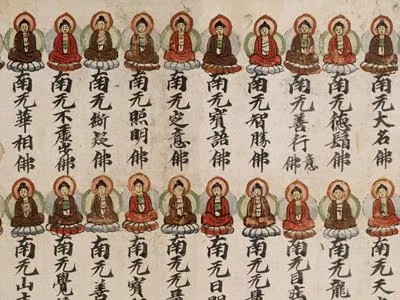
The Lotus Sutra is a sacred text that contains important early teachings on Buddhism. It was possibly composed between the first century BCE and the second century CE. Its popularity in China, in particular at Dunhuang, is attested by the over 1,000 copies that are now in the British Library’s custodianship.
Although a few of these were digitised in the past, a total of 793 paper manuscripts are yet to be imaged. They are dated roughly between the 5th to 11th centuries, based on dated items at both ends of the spectrum.
Most, except for three booklets, are in the scroll format. Each scroll varies in size and condition. We have some scrolls that are incredibly long as well as some that are just fragments. We also have some very fragile scrolls that our fantastic Conservation team are working hard to preserve so that they are available for years to come.
We have calculated that collectively there is roughly 17km of scroll that needs to be conserved and digitised. That’s the distance from the British Library in North London to Wimbledon in Southwest London!
Thanks to the support from the Bei Shan Tang Foundation based in Hong Kong, we are steadily working through the entire collection, one scroll at a time. The digitised collection will be made freely available on the IDP website.
Equipment and Imaging Standards
To digitise the scrolls, we use specialist equipment at the British Library’s St Pancras site. Below details the equipment I use:
- Phase One XF medium format camera on a copy stand
- Phase One IQ3 80 MP Digital back
- Phase One 120mm lens
- LED lighting
- Long and height-adjustable table
- Capture One Software
- Adobe Photoshop
To ensure consistency and reliability, we adhere to these imaging standards:
- Aperture F.16
- Shutter speed 0.6 Seconds
- ISO 50
To further ensure quality and accuracy, we use the same equipment and standards for every image.
Step 1 Digitising the scrolls
Once the scrolls have been through conservation and are in stable condition they can be digitised. Digitising scrolls is quite a difficult process. As mentioned before, there are some very long scrolls (one even measuring up to 13 meters) and I have very limited space at my workstation.
At the beginning of this Project, I was given specific scroll handling training from our wonderful Conservation team.
Equipped with the knowledge to handle the scrolls safely, I shoot the scrolls bit by bit, un-rolling and re-rolling onto a scroll core as I go, both as a space saving technique but also to avoid damage to the scrolls. Luckily the scrolls themselves are long horizontal rolls, which are made of several rectangular sheets of paper or ‘panels’ attached together. I photograph every panel individually, which makes it a lot easier to capture each part.
I try to lie the scroll down as flat as I can, but it is not always possible. Some of the scrolls undulate naturally and we need to be sympathetic to the item’s condition. When undulation of the scrolls occurs, I use various weights approved by our Conservation Team to hold either side of the panels to flatten them without putting undue pressure.
If need be, I use pins to flatten the scrolls. We do not use pins directly on any part of the scrolls. Instead, I pin around the scroll and using transparent, acid free tabs in-between the pin and the scroll to protect the item.
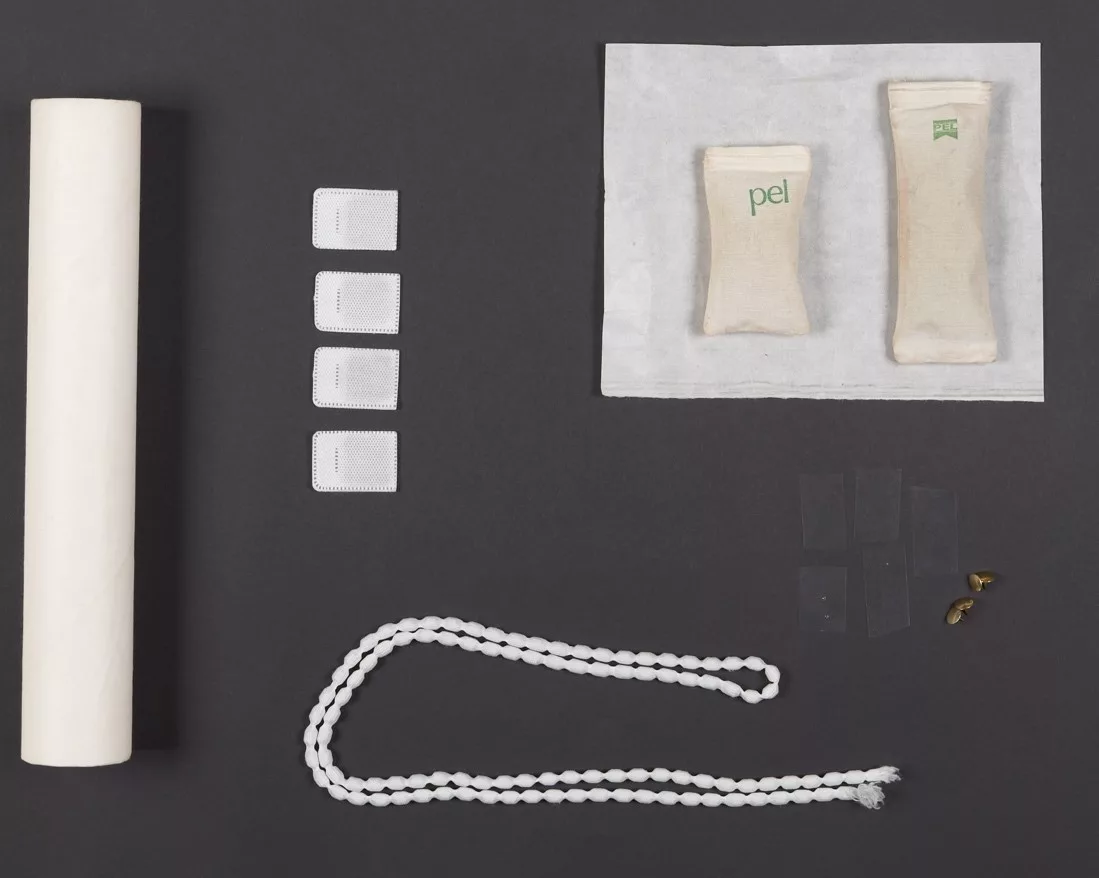
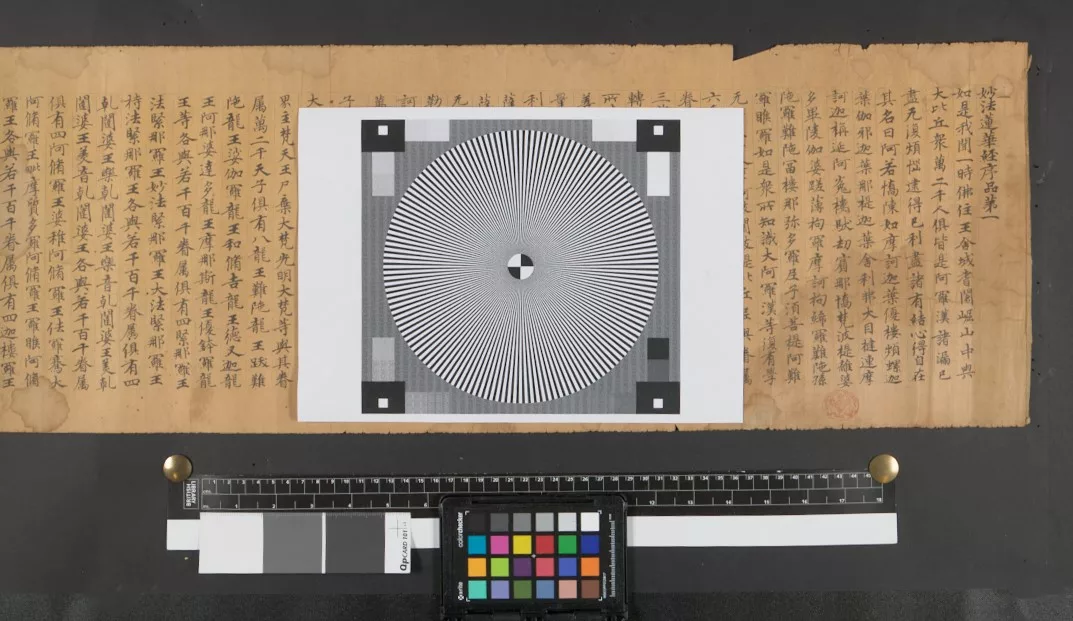
I include a ruler in the image for size reference as well as a colour chart to calibrate colours and a focusing target to set up the control shots. These are cropped out of the final images.
I shoot all the panels’ front (rectos) and back (versos) to capture the entire length of the scroll. As Chinese text is written and read vertically, top to bottom and right to left, I capture the panels from right to left.
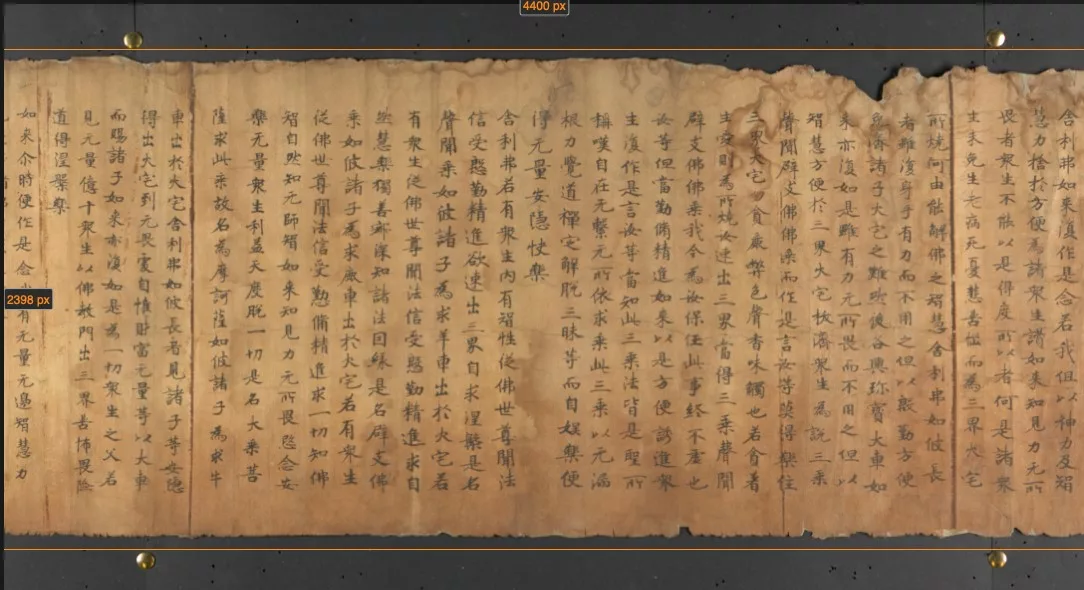
I always overshoot either side of the panel and usually include 3 to 4 columns of text overlap (as seen in the photo below). This helps in the stitching process later.
Once all the panels are shot, I process each image file from RAW files into TIFF files.
Step 2 Post-production
I edit every TIFF image in Photoshop. This task can take a long time if you have 40+ images to edit.
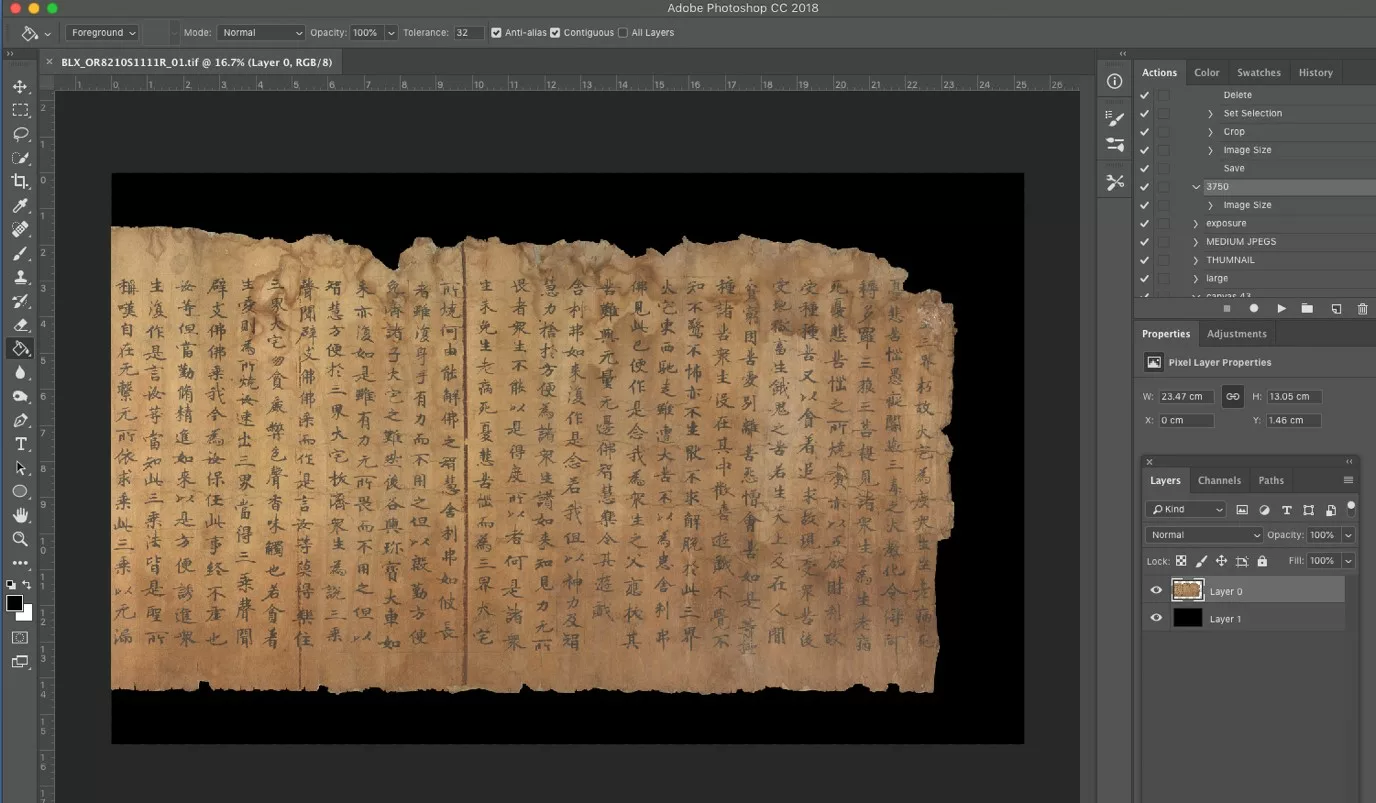
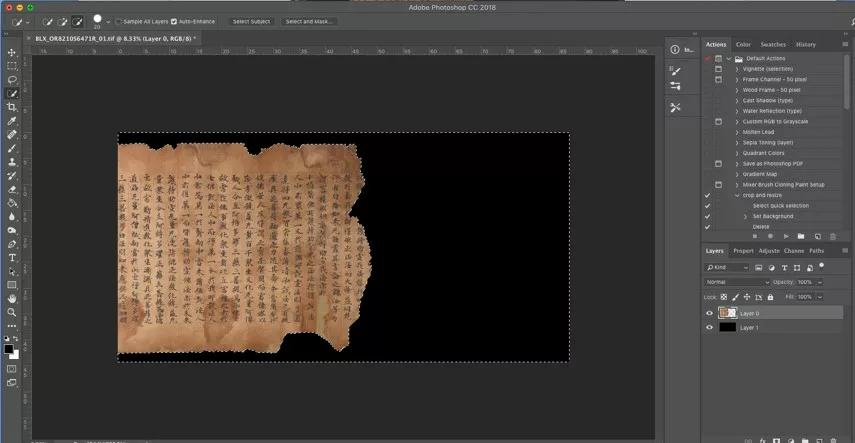
Firstly, I digitally remove any pins or other unwanted objects in the shot using the lasso tool to select around the item, then delete using the ‘Content aware’ function. Please note this can only be done when the layer is locked.
I then select and cut out the background and replace with a digital black background. This is done for aesthetic reasons and something that we inherited from the previous team. We continued with this for consistency with the historical images.
You can achieve a similar goal by shooting directly onto black fabric.
I change the height of every image. This is done for the purposes of ingesting the images onto our website, which requires specific sizes and ensures consistency.
To speed the process up I have created ‘Actions’ in Photoshop to save me some time and partially automate the majority of the postproduction.
Step 3 Stitching
I use automatic stitching to generate the stitched TIFF. Having trialled a few software packages, I can say the Adobe’s Photoshop ‘Photomerge’ seems to be the best at the moment.
Whilst it is the best on the market, it unfortunately it can be very hit and miss, and depends on the length, curvature and condition of each scroll. Most recently I have discovered that dramatic change in colour on the scroll also confuses the software.
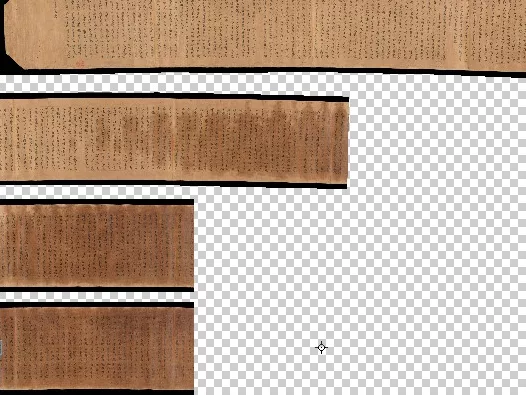
For this example, I was forced to manually stitch all the separate parts together. This is a much longer process but is occasionally needed.
Automatic stitching works better when there are more reference points, which is why I include extra columns of text either side when shooting the image, as mentioned before.
If I am lucky there won’t be many changes required (known as post edits), but often I have to automatically stitch the scroll in parts or even manually stitch each image.
Step 4 Editing stitched image
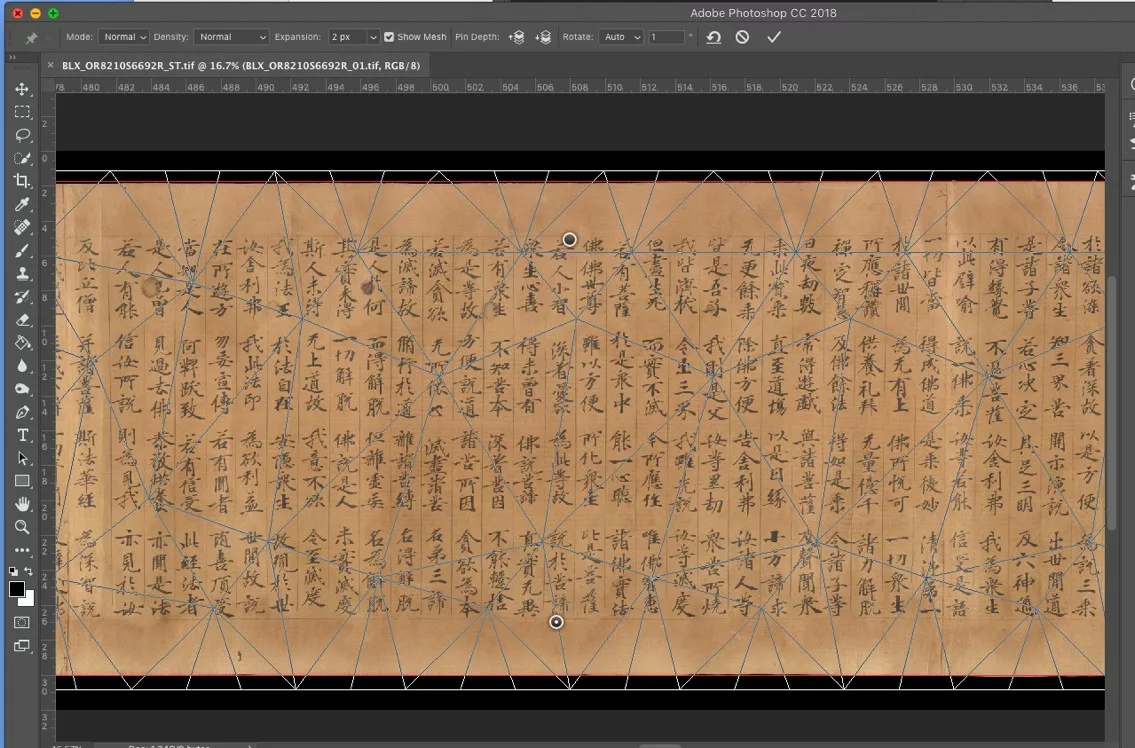
The automated stitch image often produces some arched or warped images. I use ‘Puppet Warp’ and guidelines in Photoshop to subtly straighten the scroll, being careful to not over edit or make it look unnatural. There are some very helpful YouTube vlogs explaining how to use the Puppet Warp function.
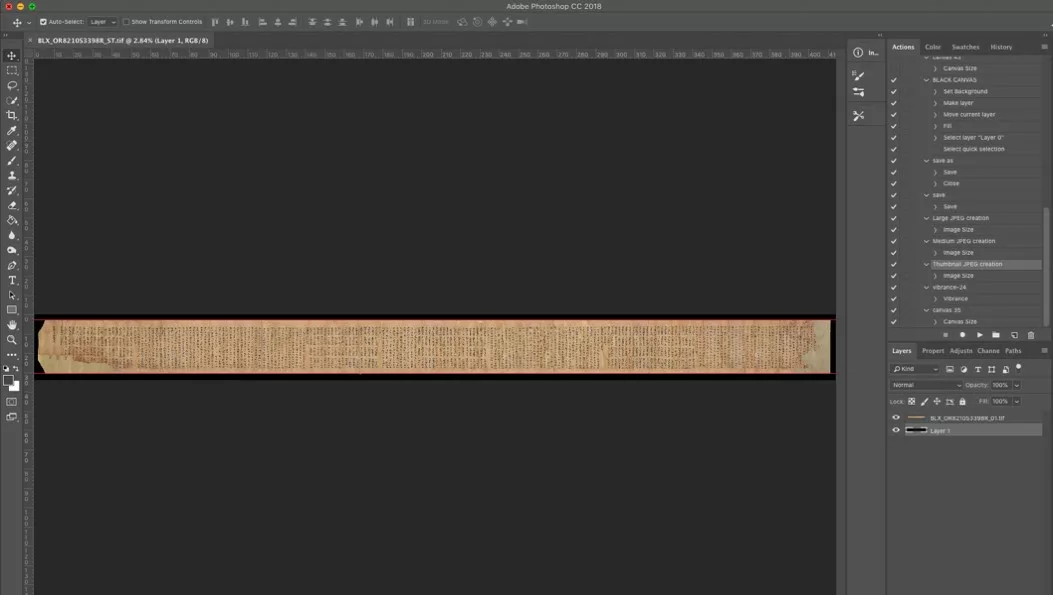
Lastly, using the TIFF files, I create three types of JPEG to be ingested to the IDP website, this includes: a large JPEG, a medium JPEG and a thumbnail.
Step 5 Quality control
Finally, I quality check the images and make sure I adhere to our specific naming conventions before I move them to another server. From here they are quality checked by a Digitisation Officer in view of ultimately being uploaded to the IDP website.
I hope you found this guide interesting and useful.
By Jon Nicolls, Senior Imaging Technician, International Dunhuang Project.
This article was originally posted on the British Library Asian & African Studies blog on 02 August 2021.
If you have feedback or ideas about this post, contact us, sign in or register an account to leave a comment below